
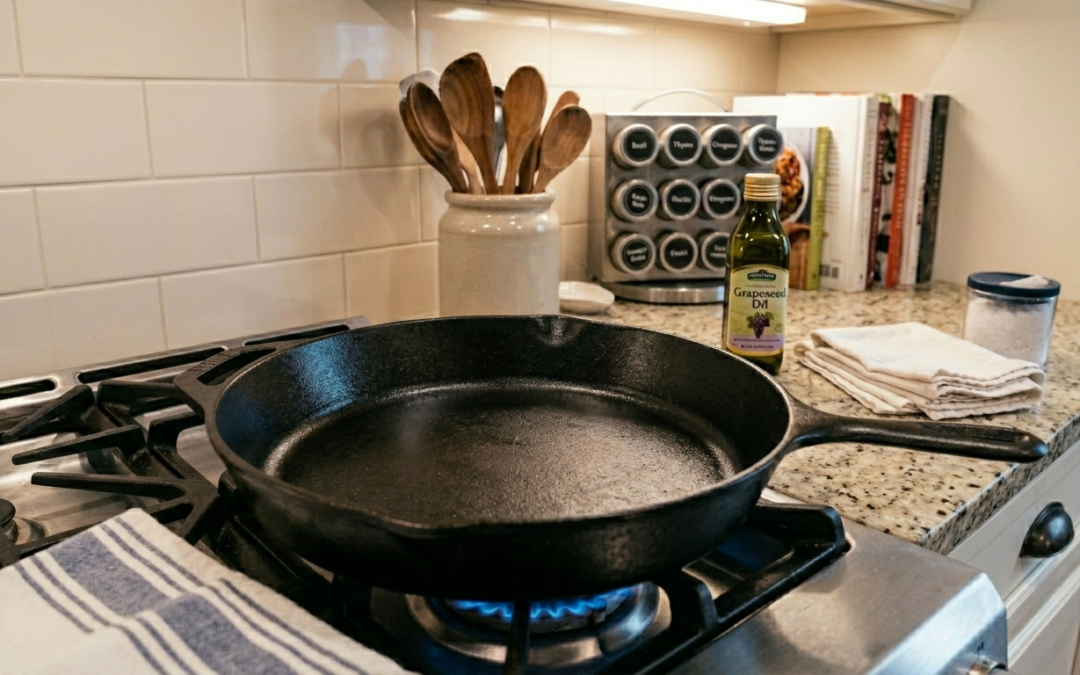
Seasoning New Cast Iron Skillet for the first time: An Easy Beginner’s Guide
You just unboxed a gorgeous cast iron skillet – maybe a sleek Smithey, a rugged Lodge cast iron, or a brand new cast iron pan from a local shop. Now what? If you’ve ever stared at that heavy black pan wondering whether you actually need to season it (and how on earth to do it), you’re in the right place. This guide walks you through everything: why seasoning matters, how to do it right the first time, and how to keep your pan in peak condition for decades. Yes, decades. Cast iron cookware, when properly cared for, genuinely outlasts its owners. Let’s get into it.
What Is Seasoning Cast Iron, and Why Does It Matter?
The Science Behind the Seasoning
Seasoning cast iron isn’t about adding herbs and spices, it’s the process of baking oil onto the surface of your cast iron pan to create a protective, non-stick layer. Each thin coat of oil, when heated past its smoke point, goes through a chemical process called polymerization, bonding to the iron and forming a hard, slick coating. Over time, these thin layers build up into a smooth, durable cooking surface that rivals modern nonstick pans without the chemical coatings.
Why You Can’t Skip It
Without a solid layer of seasoning, cast iron is vulnerable to rust, and food will stick like glue. A well-seasoned cast iron pan, on the other hand, is a dream to cook on. Think perfectly crisped potatoes, seared steaks with a gorgeous crust, and even cooking eggs without them cementing themselves to the surface. The seasoning process is what transforms raw, unseasoned iron into one of the best non-stick surfaces you can own. It’s not complicated, it just takes a little patience and the right technique.
Is Seasoning New Cast Iron Skillet for the First Time Really Necessary?
What “Comes Seasoned” Actually Means
Here’s something that surprises a lot of new cast iron owners: many modern pans actually come seasoned at the factory. Lodge cast iron, for instance, applies a pre-seasoning using vegetable oil during manufacturing. So your new cast iron skillet may already have a light layer of seasoning right out of the box, but that factory finish is typically just a starting point, not a finished product.
Why Extra Seasoning Always Helps
That said, not every new pan is created equal. Some brands ship their pans unseasoned, particularly raw or artisan-style cookware. And even a pan that comes seasoned will benefit enormously from a few extra rounds of seasoning before you start cooking. Think of the factory pre-seasoning as a primer coat: it protects the iron during shipping and gives you a foundation to build on. So yes: whether your pan comes seasoned or not, seasoning new cast iron skillet for the first time before you start cooking is always a good idea. Your future self will thank you every time food slides out cleanly.
What’s the Best Oil for Seasoning a Cast Iron Pan?
Comparing Your Options
Choosing the right cooking oil matters more than most people realize. The goal is an oil with a relatively high smoke point and a chemical structure that polymerizes well, meaning it hardens rather than stays sticky or greasy. Here’s a quick comparison of the most popular options:
| Oil / Fat | Smoke Point | Polymerization | Notes |
|---|---|---|---|
| Flaxseed oil | ~225°F | Excellent | Popular choice; can flake over time |
| Canola oil | ~400°F | Good | Affordable, widely available, reliable |
| Crisco / Shortening | ~360°F | Very good | High in saturated fats; classic choice |
| Lard | ~370°F | Very good | Traditional; excellent results |
| Vegetable oil | ~400°F | Good | Budget-friendly and effective |
The Golden Rule: Less Is More
Oils high in saturated fats like lard, Crisco, and shortening tend to create a more durable layer of seasoning than unsaturated oils. Canola is a perfectly solid middle ground for most home cooks. One tip that’s often overlooked: whatever oil you choose, use far less than you think you need. A thin layer of oil, just barely enough to coat the surface, is key. Too much oil leads to a sticky, gummy finish that’s frustrating to fix.
Step-by-Step: Seasoning New Cast Iron Skillet for the First Time at Home
The Oven Method: Best for Building a Base
Ready to get your hands a little oily? Here’s exactly how to season a new cast iron skillet in your oven :
- Preheat your oven to 450°F. You want it fully up to temperature before the pan goes in.
- Wash your new pan with warm soapy water using a scrub brush – yes, soap is fine at this stage. This removes any factory residue or protective coatings. Rinse well.
- Dry it thoroughly. Use a dish towel, then pop it on the stovetop over a burner on low heat for a few minutes to evaporate every last drop of moisture. Rust forms fast on wet iron.
- Apply a thin coat of oil all over – inside, outside, and the handle. Use a paper towel to rub it in, then wipe off any excess until the pan looks almost dry. Seriously, less is more here.
- Place the pan upside down in the oven on the center rack. Put foil on the rack below to catch drips.
- Bake for 1 hour, then let it cool completely in the oven with the door closed.
- Repeat this process 2–4 more times for a really solid base seasoning.
-
How Many Rounds Does It Take?
It sounds like a lot of work, but each round only takes about 10 minutes of active effort. The oven does the heavy lifting. After a few cycles, you’ll have a beautifully dark, glassy cast iron seasoning that’s ready for cooking.
Can You Season Cast Iron on the Stovetop?
When the Stovetop Method Makes Sense
Absolutely, and for quick touch-ups, the stovetop method is actually faster and more convenient than firing up the oven. To season your pan on the stove top, simply heat it over a burner on medium-high until it’s very hot, rub on a thin layer of oil with a paper towel (carefully – the hot pan will be very hot), and let it smoke for a few minutes until the oil polymerizes. Let it cool before handling.
Its Limitations Compared to Oven Seasoning
The stovetop method works well for maintenance between oven sessions, but it has one drawback: it’s hard to get even heat distribution on a flat burner, which can lead to uneven seasoning. For this reason, oven seasoning is generally preferred for seasoning new cast iron skillet for the first time. That said, the stovetop method shines as a quick-fix when you notice a spot starting to look dull or when you’ve just cooked something acidic that stripped a patch of seasoning. A quick stovetop touch-up can have you back in action in minutes.
What’s the Right Way to Clean Cast Iron After Cooking?
Busting the “Never Use Soap” Myth
This is where the myths run rampant. You’ve probably heard “never use soap on cast iron”, and while that’s somewhat true for well-seasoned pans, it’s not the whole picture. Here’s what you actually need to know:
- Hot water + a scrub brush or pan scraper is your everyday go-to. A good scraper gets off stuck bits without damaging the seasoning.
- A bit of soap occasionally is fine on a well-seasoned pan – modern dish soaps are much milder than the lye-based soaps of the past. Just don’t soak it in soapy water.
- Never use soap aggressively or repeatedly on a lightly seasoned or newly seasoned pan, it will strip the coating you’ve worked to build.
- Dry your cast iron immediately after washing. No air drying. Water and cast iron are not friends.
- After drying, rub on a thin layer of oil before storing – this keeps moisture out and maintains your seasoning.
- Using a scraper instead of a metal scrub brush is gentler and more than adequate for most messes.
A Real-Life Example
One real-life scenario: you’ve just made a tomato-based sauce in your cast iron pan. Acidic foods can strip seasoning, so give it a quick inspection after cleaning, if the surface looks dull or feels rough, run it through a quick stovetop seasoning session before putting it away. Simple maintenance like this is what keeps a cast iron pan performing beautifully for generations.
How Do You Know When It’s Time to Re-Season Cast Iron?
Warning Signs Your Pan Needs Attention
Even the most lovingly maintained cast iron will eventually need to re-season. Here are the telltale signs:
- Food is sticking more than usual, even with adequate cooking oil
- The surface looks dull, grey, or has rust spots
- The pan feels rough or gritty rather than smooth
- You notice flaking or peeling on the cooking surface
How to Rescue a Neglected Pan
To reseason a neglected pan, start by removing any rust with a scrub brush and soap and water – yes, go to town here. Rinse, dry completely on the stove top, then run the full oven seasoning process described above. It might take 3–5 rounds to restore a badly neglected pan, but cast iron is incredibly resilient. That rusty pan you found at the thrift store for $5? With a little elbow grease and a few rounds of oven seasoning, it can be back to non-stick glory. That’s part of what makes cast iron cookware so special: it’s nearly impossible to ruin permanently.
Is Cooking in Cast Iron the Best Way to Build Up Seasoning?
Why Everyday Use Is Your Best Seasoning Tool
Here’s a fun secret: the best way to season your cast iron skillet isn’t in the oven: it’s just by cooking with it. Every time you use cast iron with oil or fat, you’re adding to that layer of seasoning. Foods like bacon, fried chicken, and sautéed vegetables contribute to building up a gorgeous, dark, glossy patina over time. Cooking eggs in a well-seasoned pan is the gold-standard test: if they slide around effortlessly, your seasoning is in excellent shape.
Foods to Avoid Early On
That said, there are foods to avoid (or use with caution) when you use cast iron early on. Acidic foods like tomatoes, citrus, and wine can break down fresh seasoning. Cooking eggs on a brand new cast iron skillet can be frustrating until the pan has built up multiple layers. Start with high-fat, high-heat cooking like bacon, steaks or sautéed mushrooms, and you’ll build a great layer of seasoning naturally through everyday cooking in cast iron. The more you cook in it, the better it gets. There’s something genuinely satisfying about that.
Can You Use a Dutch Oven or Other Cast Iron Pieces the Same Way?
Seasoning Rules Apply Across All Cast Iron Cookware
The good news: the same seasoning rules that apply to a skillet apply across all cast iron cookware. A dutch oven, a griddle, or a grill pan all season the same way and benefit from the same maintenance routine. The only difference is logistics: a dutch oven has a lid to season separately, and deeper pieces may need more careful application to reach every surface.
Tips for Even Heat and Long-Term Care
Some cast iron skillets come with a matching lid, and both pieces should be seasoned independently. Lids can be placed upside down on the oven rack during the seasoning process just like the pan itself. If you use your cast iron for anything from deep frying to baking cornbread, maintaining the seasoning matters just as much. Always preheat your cast iron gradually to avoid thermal shock (very rare but possible), and make sure the pan has even heat distribution before adding food. Even heat is one of cast iron’s biggest advantages once it’s properly warmed up, it holds temperature like an absolute champ.
Key Things to Remember: Cast Iron Seasoning at a Glance
- Seasoning = polymerized oil, not flavoring, it creates your non-stick cooking surface
- Use a thin coat of oil – less is always more; excess oil causes stickiness
- Bake at 450°F for 1 hour, upside down, then let it cool in the oven
- Dry your cast iron thoroughly every single time after washing
- Never use soap aggressively or soak your pan in water
- Cooking in cast iron regularly builds seasoning naturally over time
- Repeat this process several times to build a strong initial seasoning
- Even a brand new cast iron pan benefits from extra rounds beyond factory pre-seasoning
- Reseason when you spot rust, dullness, or increased sticking
- Cast iron is nearly indestructible: with good care, it lasts a lifetime (or three)
FAQs
Q1: How often do I need to season my cast iron skillet?
There’s no fixed schedule, it depends on how often you cook with it and what you cook. As a general rule, season your pan from scratch 3–5 times before you start cooking in earnest. After that, give it a light coat of oil after every wash, and do a full oven re-seasoning whenever the surface starts to look dull or food begins to stick. Heavy use with fatty foods means you may rarely need formal oven seasoning sessions, since everyday cooking builds up the layer of seasoning naturally.
Q2: Can I use my cast iron skillet on a glass or induction stovetop?
Cast iron works on gas, electric coil, and induction stovetops. On glass or ceramic cooktops, use caution: cast iron is heavy and rough-bottomed, so sliding it can scratch the surface. Always lift rather than drag. On induction, cast iron is actually an excellent choice because of its magnetic properties, and it heats well despite induction’s tendency to create uneven hot spots on some cookware. Just preheat gradually and you’re good to go.
Q3: My cast iron pan is sticky after seasoning: what went wrong?
Stickiness almost always means too much oil was applied. When there’s excess oil during the polymerization process, it doesn’t fully harden and instead cures into a gummy layer. The fix: heat the pan in the oven at 450°F for an hour to try to burn off the stickiness, then wipe with a dry paper towel while hot (carefully!). If it’s still tacky, scrub it down and start the seasoning process again with a much thinner amount of oil, you want the pan to look almost oil-free before it goes in the oven.
Q4: Is Lodge cast iron already seasoned when I buy it?
Yes, Lodge cast iron comes seasoned from the factory using vegetable oil, and it’s genuinely ready to cook with straight out of the box. However, the factory seasoning is relatively light, and most cast iron enthusiasts recommend adding 2–3 more rounds of oven seasoning before heavy use. This gives you a more robust base and makes the pan far more forgiving for beginners. Over time, regular cooking will build that seasoning into something truly impressive.